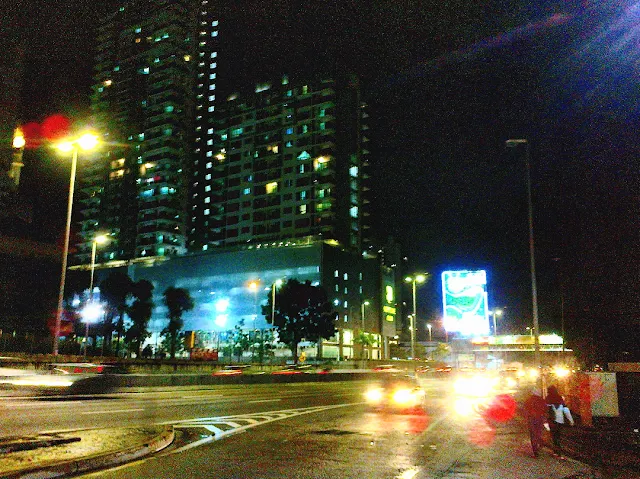
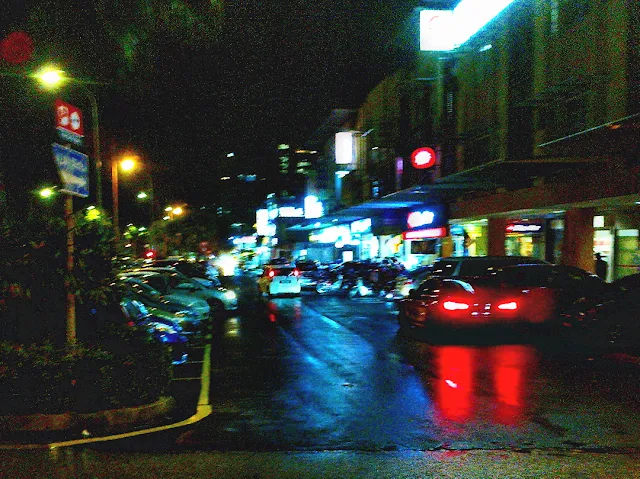
Moving on now from film-scan JPEGs to digital JPEGs, these are images from my earlier post, Mobile Photography, Noise, Speed, and All, which have been re-processed on Olympus Workspace, as compared to the ones done on Olympus Viewer 3 (OV3).
After having worked on both OV3 and Olympus Workspace for quite some time now, I do have an inkling that images post-processed on Olympus Workspace are 'richer with more volume and depth' when compared to those of OV3, which are more of the 'mid-tone neutral' genre.
Olympus Workspace has also been more dynamic and easier to work with, as I have learned from doing the preceding pages of this series.
The only lament that I may have, if any at this moment, is the missing Noise Reduction edit for JPEG images (available only for *.ORF RAW files), otherwise available on OV3 even for JPEGs, which would have helped me along with these extended exposure shots.
Rather than classifying them as long exposure, which is what are really are, I call these shots extended exposure as they were taken at the longest exposure as automated on the candy bar Nokia Asha 300, which has a fixed focus, auto exposure, 5MP rear-facing camera.
While images from the camera in bright daylight are crisp and sharp, the night shot images here have their own appeal and work well for me.
Except for the first image, which was done with the addition of the Cross Process Art Filter Effect, all other images are edited with cursory tweaks I normally use in my post-processing workflow. This includes Gradation, Clarity, Dehaze, Highlight & Shadow, Tone Curve, Contrast, Saturation, and Unsharp Mask.
The degree or level of tweaks applied to the images is fairly constant (uniform). Gradation was set to (Auto), 'Clarity and Dehaze' is nominal at (+20) and (+30). The settings for Highlight & Shadow are Highlight (+6), Midtone (+3), and Shadow (+3).
The Tone Curve was done with a slight lift of the black (+30), and the curve swept below the mark before curving back to the top of the diagonal. Contrast and Saturation are constant at (+20) each.
I have always used Unsharp Mask in the same setting for both OV3 and now, Olympus Workspace. It is not a value to get the sharpest image possible, but rather a level that can be further enhanced later. To this effect, I normally do my final print sharpening with Google NIK Sharpener Pro3.
Back to Basics: Installation and Setup


No comments:
Post a Comment