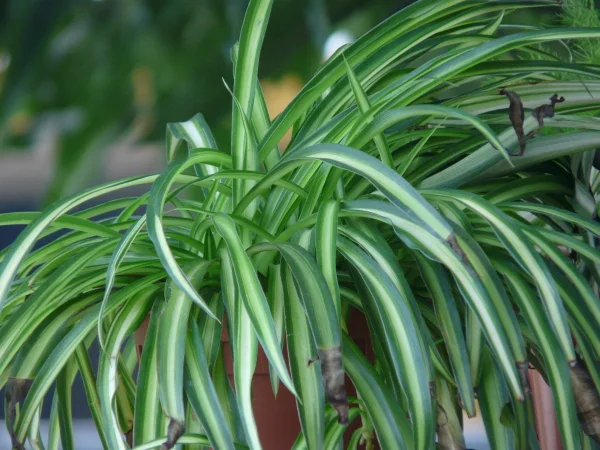
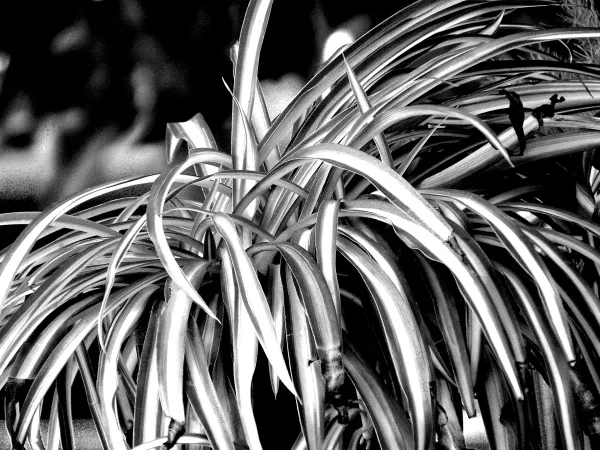
On the digital photography front, one of the methods of getting a good digital B&W (black and white) image is to first capture the image in color and then do a grayscale conversion of the image through post-processing. There are different approaches to this method, available even within the same software suite. Some are more effective than others, with equally varying results. Differences between the various methods are usually explained in terms of visual appeal or the ability to blend the various color channels to emulate traditional B+W filters.
Options on Olympus Viewer 3 (OV3)
 |
| JPEG image as shot |
For those who have access to the software, Olympus Viewer 3 (OV3) is just as good to start the understanding and learning of black and white, and as an off-shoot, sepia-tone conversions.
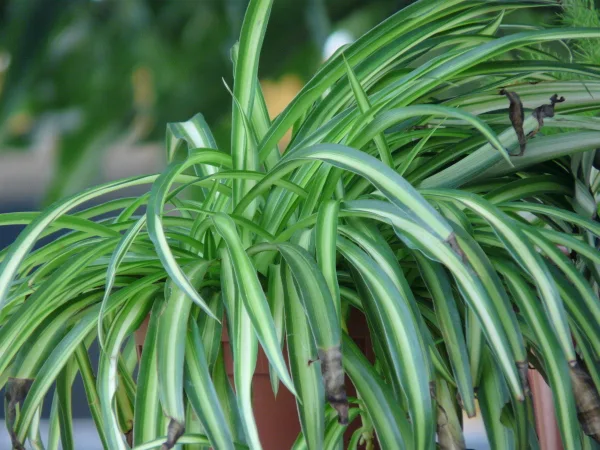
For the JPEG image, B&W conversion is mainly done with the Monochrome & Sepia tool in Image Edit Mode. The masthead image above is the completed version which started off as a color JPEG image as seen on the right here.
A much simpler solution can be achieved by reducing the color saturation of an image to a value of -100 using the Hue & Saturation tool.
Both methods may still end up with a flat and lifeless-looking image that needs to be enhanced with other edits.
Process Workflow
The following example looks at a simple 5-step workflow to get you going on the right track and one which you can further develop as you increase your knowledge and skills of using OV3. Tools used in the Edit Menu include:
- Auto Tone Correction
- Monochrome & Sepia
- Brightness & Contrast
- Hue & Saturation, and
- Unsharp Mask
Let's have a look at how the sample image is post-processed with these tools.
Image Edit Window
 |
| OV3 Image Edit Window |
Once in OV3, double-click the image to open it in the Image Edit Window. The Edit menu, which lists all edit tools is displayed on the right of the screen.
Auto Tone Correction
 |
| Image after Auto Tone Correction edit |
The Auto Tone Correction tool automatically sets the darkest value and the highest value and then uses a slider to adjust the brightness scale of the mid-tones between the two points, used to give a flat or under-exposed image a bit more punch.
 |
| Auto Tone Correction tool |
In this example, Manual control is used for this image. The strength setting was set slightly lower than the automatic value.
Monochrome & Sepia
 |
| Image after application of Monochrome & Sepia edit |
The Monochrome & Sepia tool converts the image to a Monochrome or Sepia tone with an added selection of colored B&W Filters, Picture Tone, and a Contrast slider. This is the main tool used for the conversion.
 |
| Monochrome & Sepia tool |
The Green B&W Filter, though not as commonly used as other B&W filters (Neutral, Yellow, Orange, Red, and Green on OV3), was used to enhance the separation of the green foliage of the image. The Contrast slider was set to a very high 90%. Picture Tone was left untouched.
Brightness & Contrast
 |
| Image after application of Brightness & Contrast edit |
The Brightness & Contrast tool lets you make simple adjustments to this tonal range of an image. Moving the brightness slider to the right increases tonal values and expands image highlights while moving it to the left decreases values and expands shadows.
 |
| Brightness & Contrast tool |
The contrast slider expands or shrinks the overall range of tonal values in the image.
For this image Brightness was set at -5 while Contrast was upped to +50.
Hue & Saturation
 |
| Image after application of Hue & Saturation edit |
The Hue & Saturation tool offers one of the best ways to change colors both globally and selectively. It is an easy-to-use tool that can create remarkably different looks for your color images.
 |
| Hue & Saturation tool |
In OV3 the tool is made of three controls: Hue (actual color), Saturation (the intensity of color), and Lightness (a combination of contrast and brightness) which can be used singularly or in combination.
For this conversion, only Saturation was used, which was adjusted all the way to +100.
Unsharp Mask
 |
| Image after application of Unsharp Mask edit |
The Unsharp Mask tool, probably the most common type of sharpening, is used to sharpen an image in post-processing. In OV3 you can use Unsharp Mask for post-processing of both JPEG and *.ORF RAW files.
 |
| Unsharp Mask tool |
The process works by utilizing a slightly blurred version of the original image which is then subtracted from the original to detect the presence of edges. Contrast is then selectively increased along these edges using this mask, leaving behind a sharper final image.
For this image Strength (Amount) was set to +400, Radius to +1.50, and Threshold to +25. You might want to look at this page here, or other sources on the Internet, including this page here, to learn more about the Unsharp Mask feature.
There you go. Your image is now ready for export.
Note:
Image editing in Olympus Viewer 3 is non-destructive, meaning that your original image will remain intact even after editing. Olympus Viewer 3 remembers editing settings automatically, there is no need for you to save them. Returning the image to its original appearance is also easily done.


No comments:
New comments are not allowed.